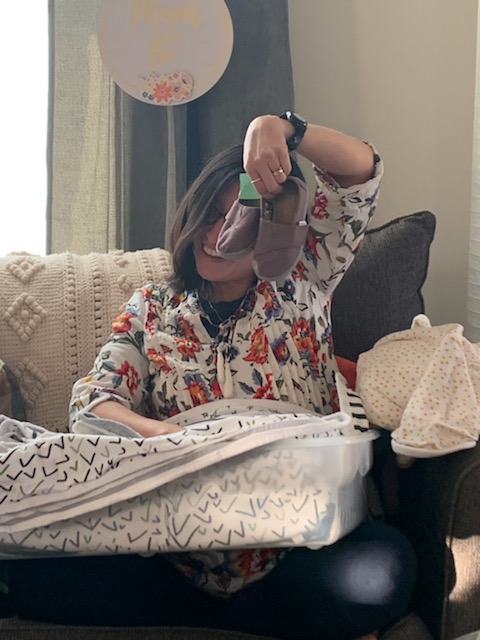
Having a baby is so exciting, being pregnant is a time of being doted over and showered with attention. For many fortunate women there is often a baby shower with family and/or friends. An event where the Mom-to-be is most literally showered with gifts. It goes without saying that we want what is best for our baby when they arrive, but for some of us we also consider what is best for our own mother – Mother Earth.
When putting together my own shower, together with my sister, for a shower with my close friends we made sure to be as conscious as we could with all aspects of the party. Below is what we came up with. I hope that it assists you in successfully making your baby shower or party more eco.
Gifts
This is a biggie. One of the main attractions of a shower is the moment when the Mama opens her (usually) plethora of gifts. Environmentalist Mamas out there likely have a few things on their wish lists that others may not, for example requesting that gifts be second hand or hand me downs, as was my request for my baby shower with my friends. It’s a bit of a culturally awkward request to make, but I tried my best to communicate the what and why on my shower invitation, which was sent virtually to save resources, financial and material. The exact writing sent to my friends can be read below.
Thank you so much for visiting our registry. It likely will not come as a surprise to anyone that we are striving to have as little impact on the environment when raising our little one and are also attempting to limit our wee babe’s exposure to harmful chemicals. For this reason, we have requested organic and chemical free when available and have also requested second hand items, if they can be found.
Baby items are used for such a short amount of time, or sometimes not at all, so high quality used items are prevalent – and used items have less, or no, packaging, lastly they do not off gas their chemicals to our newborn the way that new items do. Hand-me-downs from you or items bought via FB Marketplace, ebay, etc. are greatly welcomed!
We are old fashioned and are not finding out the gender of our wee one, gender neutral options are preferred, but we also don’t feel a need to adhere to cultural gender constricts if you have an item to pass along that reads one gender or the other.
Lastly, if you are a mama and think that there is an item that would benefit us but that is not on the list, please by all means, endow us with your wisdom! This registry is a starting point made by totally newbie parents!
Thank you for understanding and honoring our lifestyle choices.
Food
Whether you are preparing everything yourselves or the food is being prepared for you by a loved one or a caterer, this is an area where steps and precautions can be made to limit waste and to be mindful of consumption.
In my case, my sister and I prepared the food for my shower in order to reduce waste in the form of packaging. Our spread was simple: a veggie tray, hummus, cheese, artichoke dip that my mom kindly made, crackers, fruit, and dessert.
Because my shower was small I was able to use the silverware that I already had on hand. For plates we used left over disposable bamboo plates from my sister’s wedding. Napkins were also left overs from her event. If you have the time ahead of your event, you could thrift dish sets for your party and donate them back to the thrift store when done or store for further events if you have the space.

Decoration
For sure there were absolutely no balloons. Because we did not know the gender of our baby we opted to use gender neutral items that again, we already had on hand from prior events, including a lace bunting and separate floral bunting. My sister had collected woodland themed items for me from her local Buy Nothing Group and brought them with her to use for the shower.
The decorating that we did was minimal and laid back, yet beautiful and more than enough. I’ve found avoiding social media, other than in search of zero waste ideas, is a good idea so as to not fall into a trap of feeling a sense of needing more, more, more to make your event Instagramable. You don’t need fancy balloon arches or single use plastic party favors, that, let’s be honesty, get tossed right away anyway. Less is more. Bringing loved ones together to celebrate new life is all that you need.
Party Favors
In my opinion party favors are not a necessity, for almost any event. They can be nice, even beautiful and thoughtful, but I think more often than not they tend to be low on the list of priorities for your guests who again, are there for the company, not to take home tchotchke gifts.
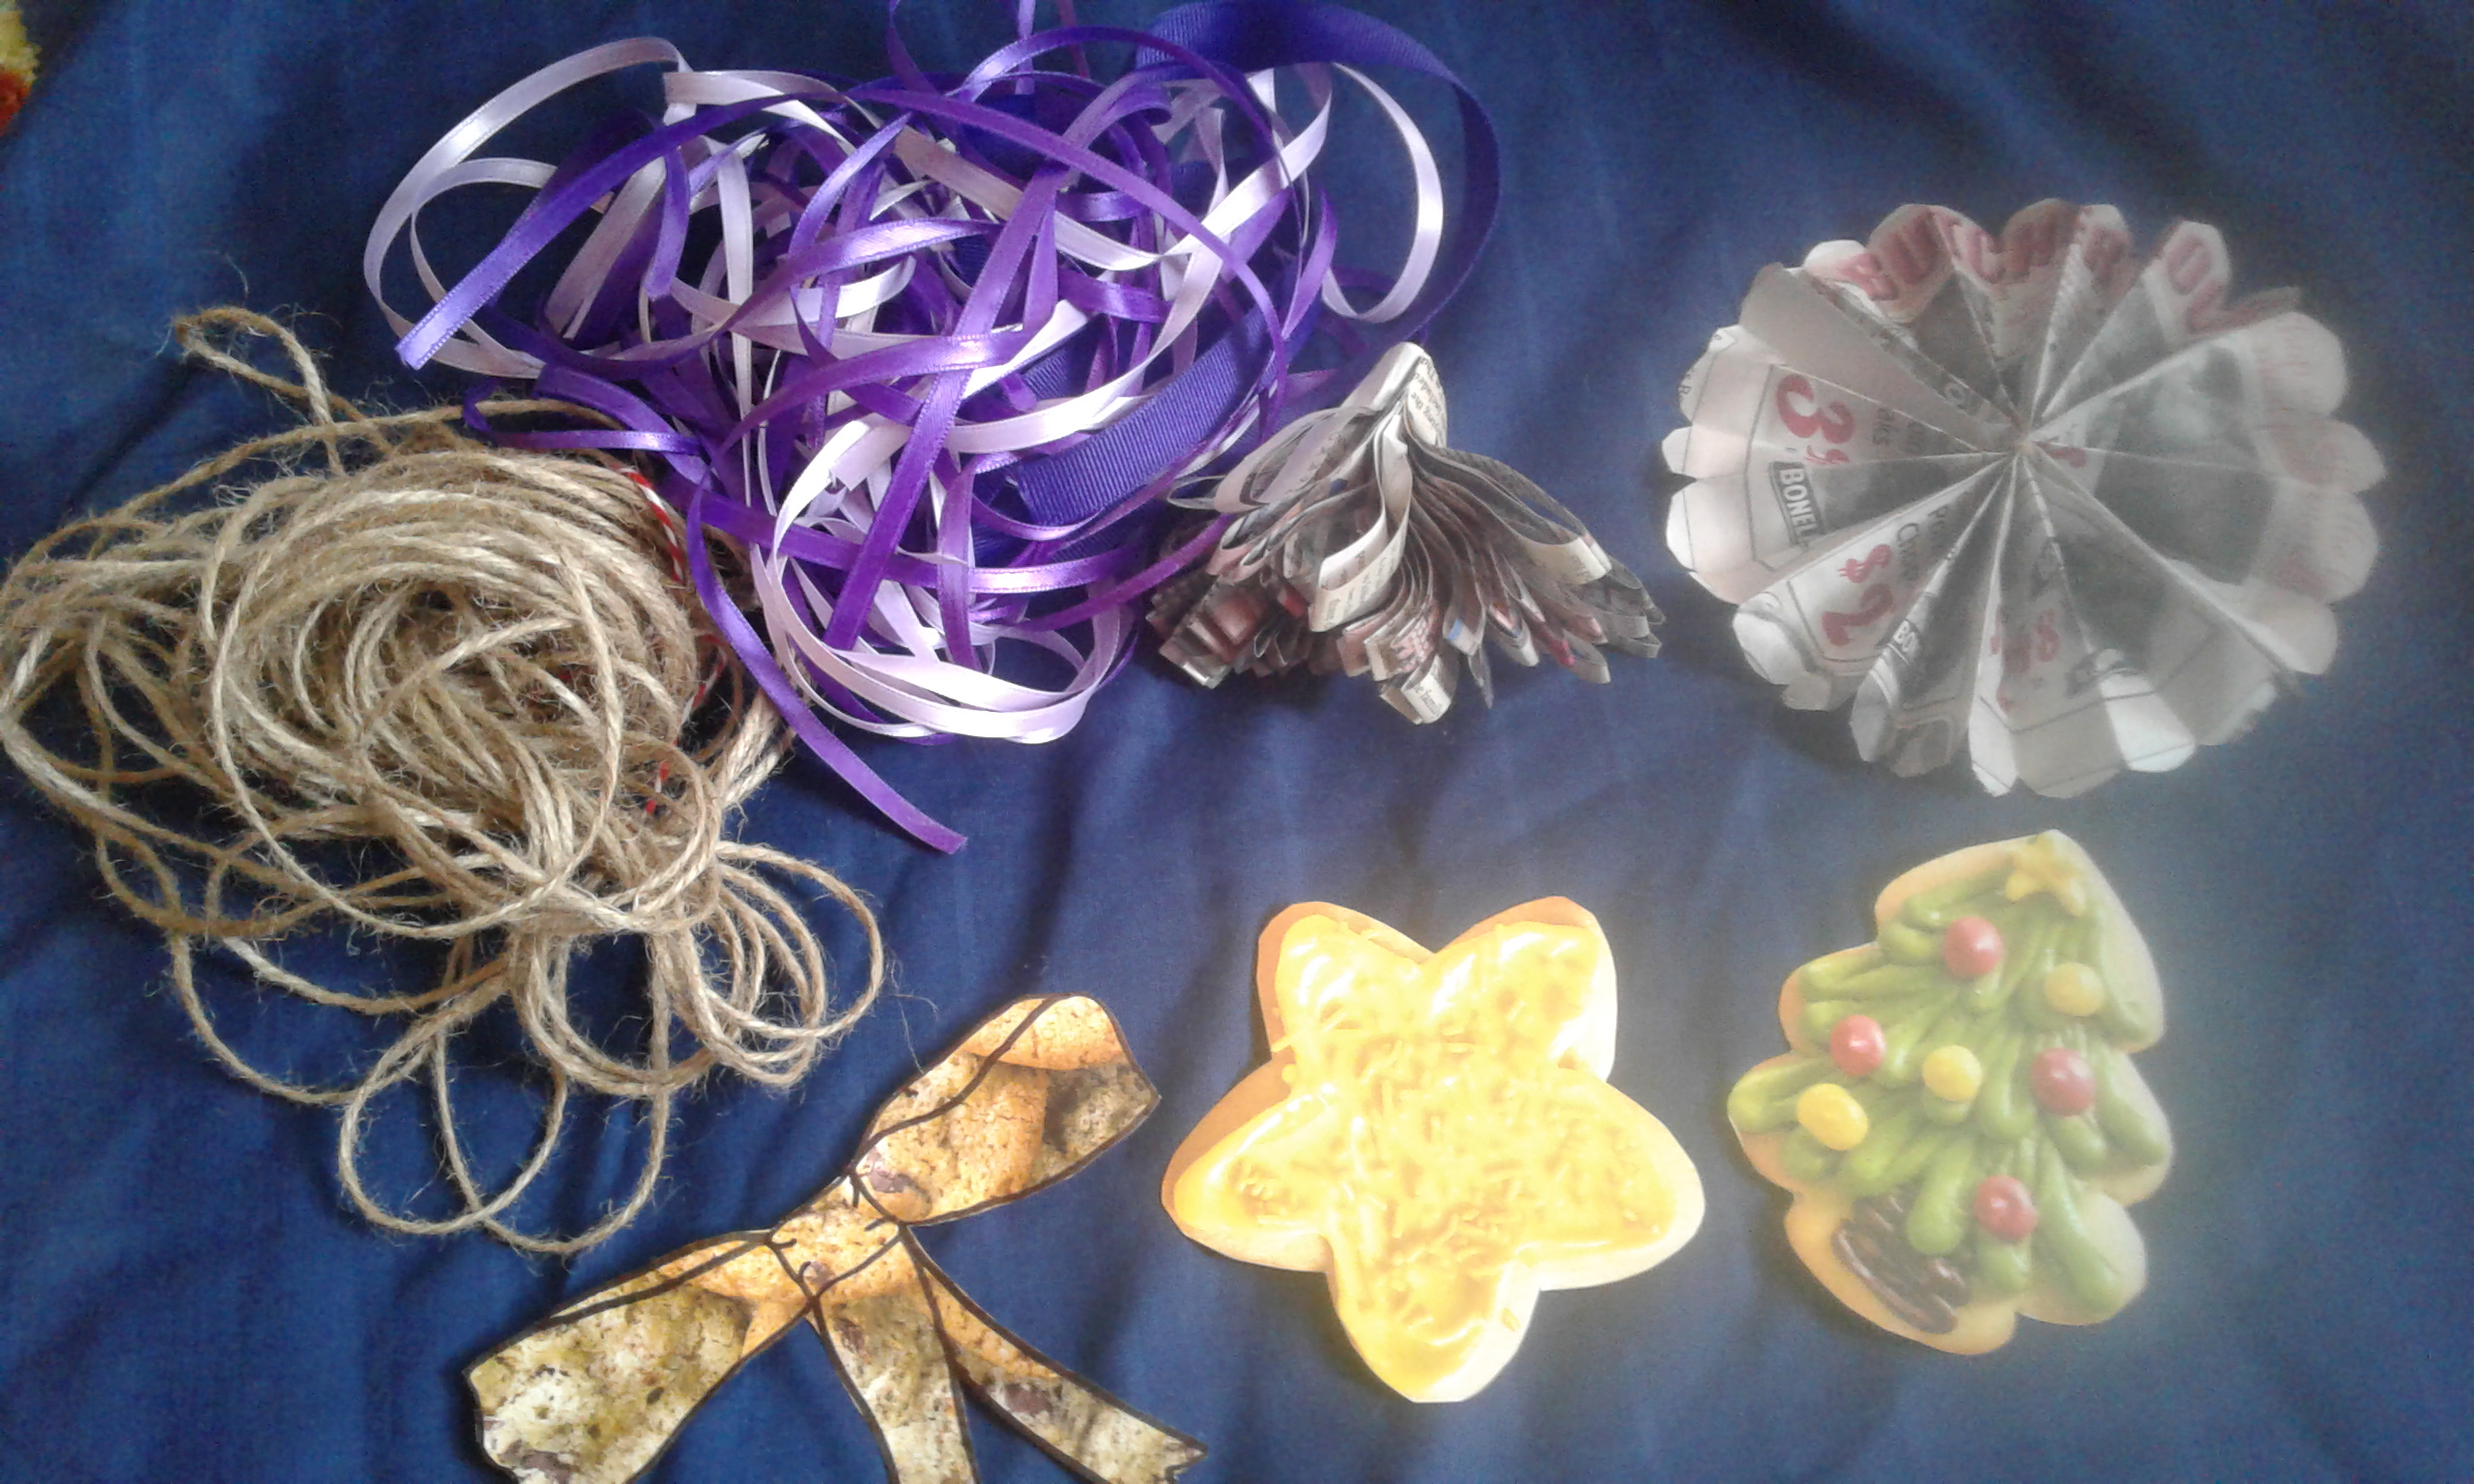
However, I did have a small gift for my baby shower friends – a candle. I had read about the idea of giving close loved ones a candle to burn while you are in labor so that in essence they are with you from afar and recognize the difficult work that you are going through mentally and physically. Burning the candle is a symbol of womanhood and togetherness. I connected with this idea, so my friends got candles.
If you want to generously give your friends and family gifts, then a sustainable option might be something made locally or find inspiration from this site.
I hope that these simple ideas have resonated with you. If you have more to add, please leave a comment, I love sharing ideas.


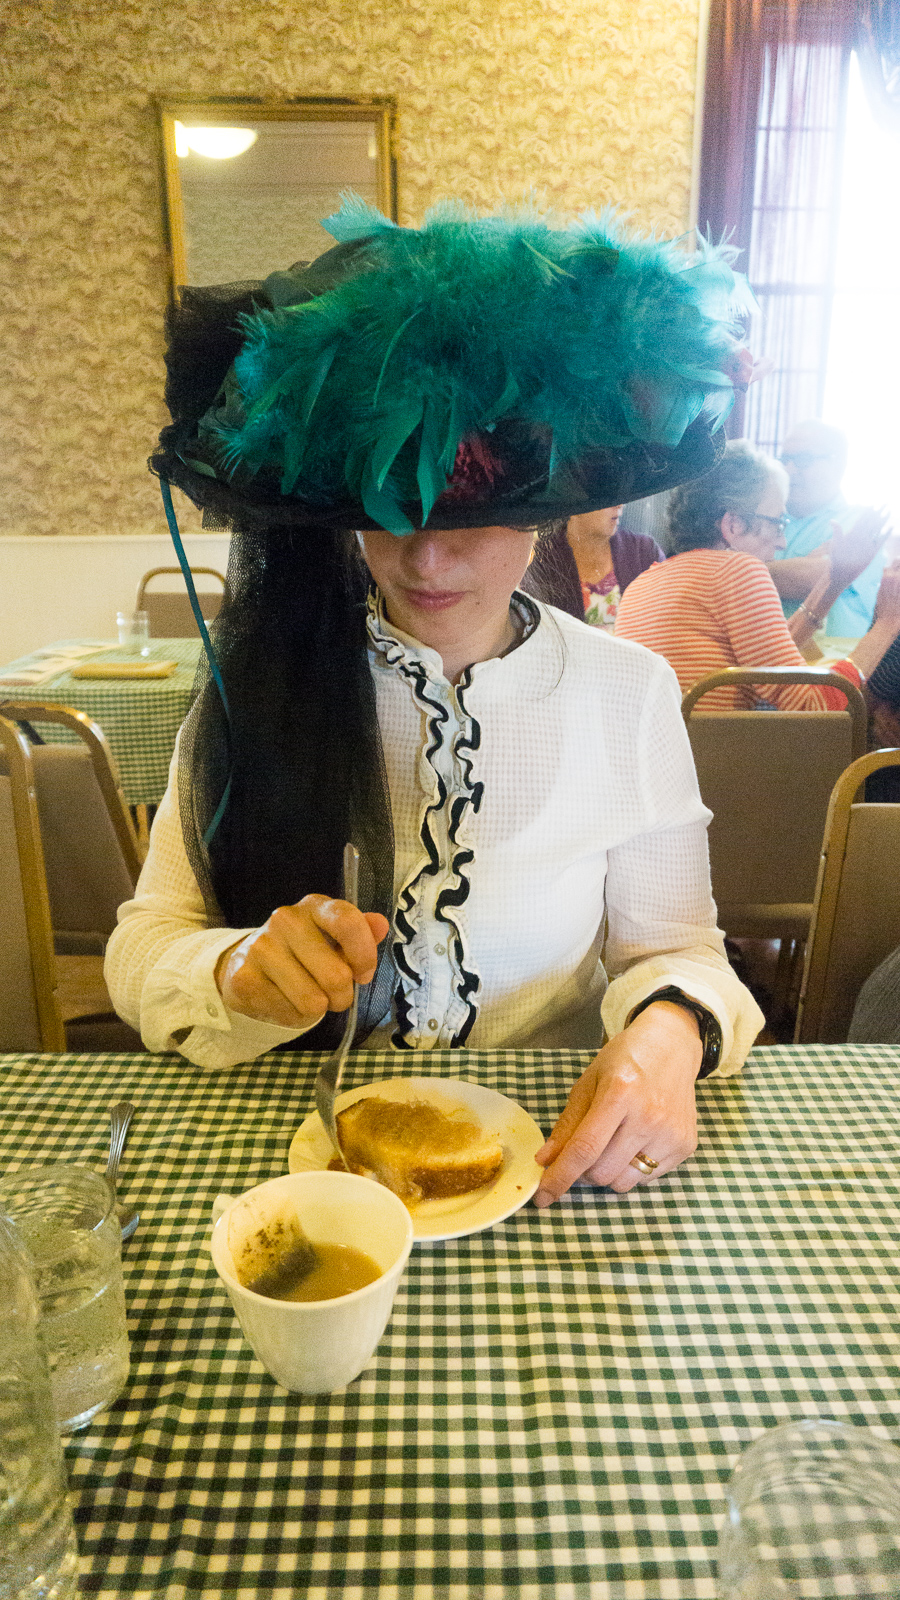
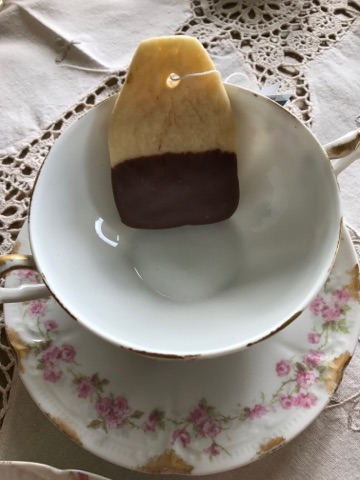 made homemade cookies that so precisely resembled a real teabag that I had to double take at the teacups when I first walked on the porch to realized that they were edible. There’s a recipe


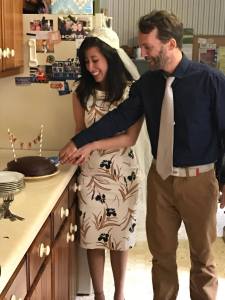
 I am no Bridezilla, but I know how important the dress is and after dress shopping with my mom and twin sister, I know now too just how fun and flattering wedding gowns can be, I cannot however, justify paying hundreds of dollars on a dress to be worn just once, especially not for the garden, civil ceremony that we had. Therefore, while my fiance was across the pond spending his nights researching immigration documents, I was browsing the internet for the perfect civil ceremony dress (don’t worry, I helped with the legal research, too!)


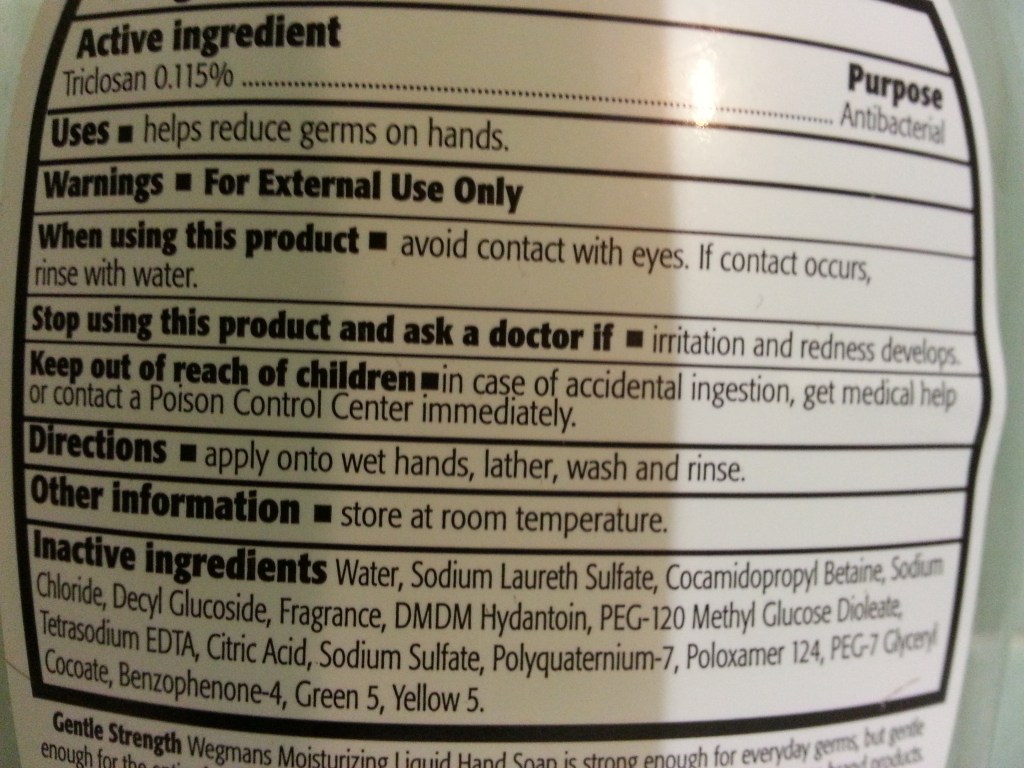
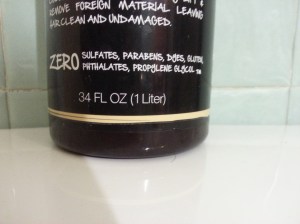 store, but not all that much more because I bought a large bottle, so it will last months. When opting to pay more for organic food and products over cheap, chemical-laden foods and products I remind myself that paying more now is a lot cheaper than paying for health care treatment down the road.


 cross-legged, a position that is more comfortable on my back – I’m able to align my spine and ground through my sit bones in the chair (you can find detailed instructions on how to sit and stand safely in the Deskbound book.) Without even noticing it, only three months into the big adjustment, I was standing up the entire 7 hour day, spare a 30 minute break to eat lunch seated and 30 minutes of my lunch break that I use to take a walk outside. I’ll point out again that it took about three months for me to get to the point of standing at my desk for the full day without discomfort, so do not despair if you try a standing desk and find it difficult, give your body time to adjust.


 I took to dye my fabric.