It’s April. This month we celebrate Earth Day, a day to recognize the beauty of nature, maybe plant a tree, spend some time outdoors, or attend a community planned event. That’s all good and great and brings nothing but smiles to my face, but ultimately, we need to spend every day as if it is Earth Day, because every day we live on and take from this planet and rarely do we take a step back and contemplate our day-to-day choices and their effects on the environment.
It has been on my mind a great deal these past few months to use less plastic. One of my resolutions for the New Year was to decrease my plastics use this year and forever more. Here are some tips of how I have been cutting back.
- DON’T USE PLASTIC BAGS!!! These nuisances are almost unavoidable. Purchase anything and they automatically toss it in a plastic bag. This is exceptionally true here in Korea at markets and convenience stores. At least at grocery stores they charge you for the bags (here in Korea.) Give it a think, what use does that bag have to you after you bring it home and take out whatever you carried in it? Maybe you could use it as a garbage can liner, but that’s about it. I’m sure you have a larger collection of plastic bags than you do garbage cans. Replace them with reusable bags that fold up and clip onto your purse, or take an empty backpack with you to the grocery store. I’ve made it a recent habit to even take empty Tupperware with me to fill with shrimp or wet items sold fresh from the market. It works great!
- PURCHASE WITH LESS PACKAGING Marketers wrap their products in so much unnecessary paper and plastic to make it look appealing on the shelves. Again, this is an example of a one time use by-product that has absolutely no value to you in the future. There’s no doubt that it makes its way into the garbage or recycling bin. While choosing a product at the grocery store or any other shop, compare which item has less packaging and go for that. Give preference to post consumer recycled paper board or soy printed labels. If something comes in a glass jar, then wash it out and add it to your Tupperware cupboard, or use it to store sugar or other dry goods in as opposed to in the plastic bags that they come in.
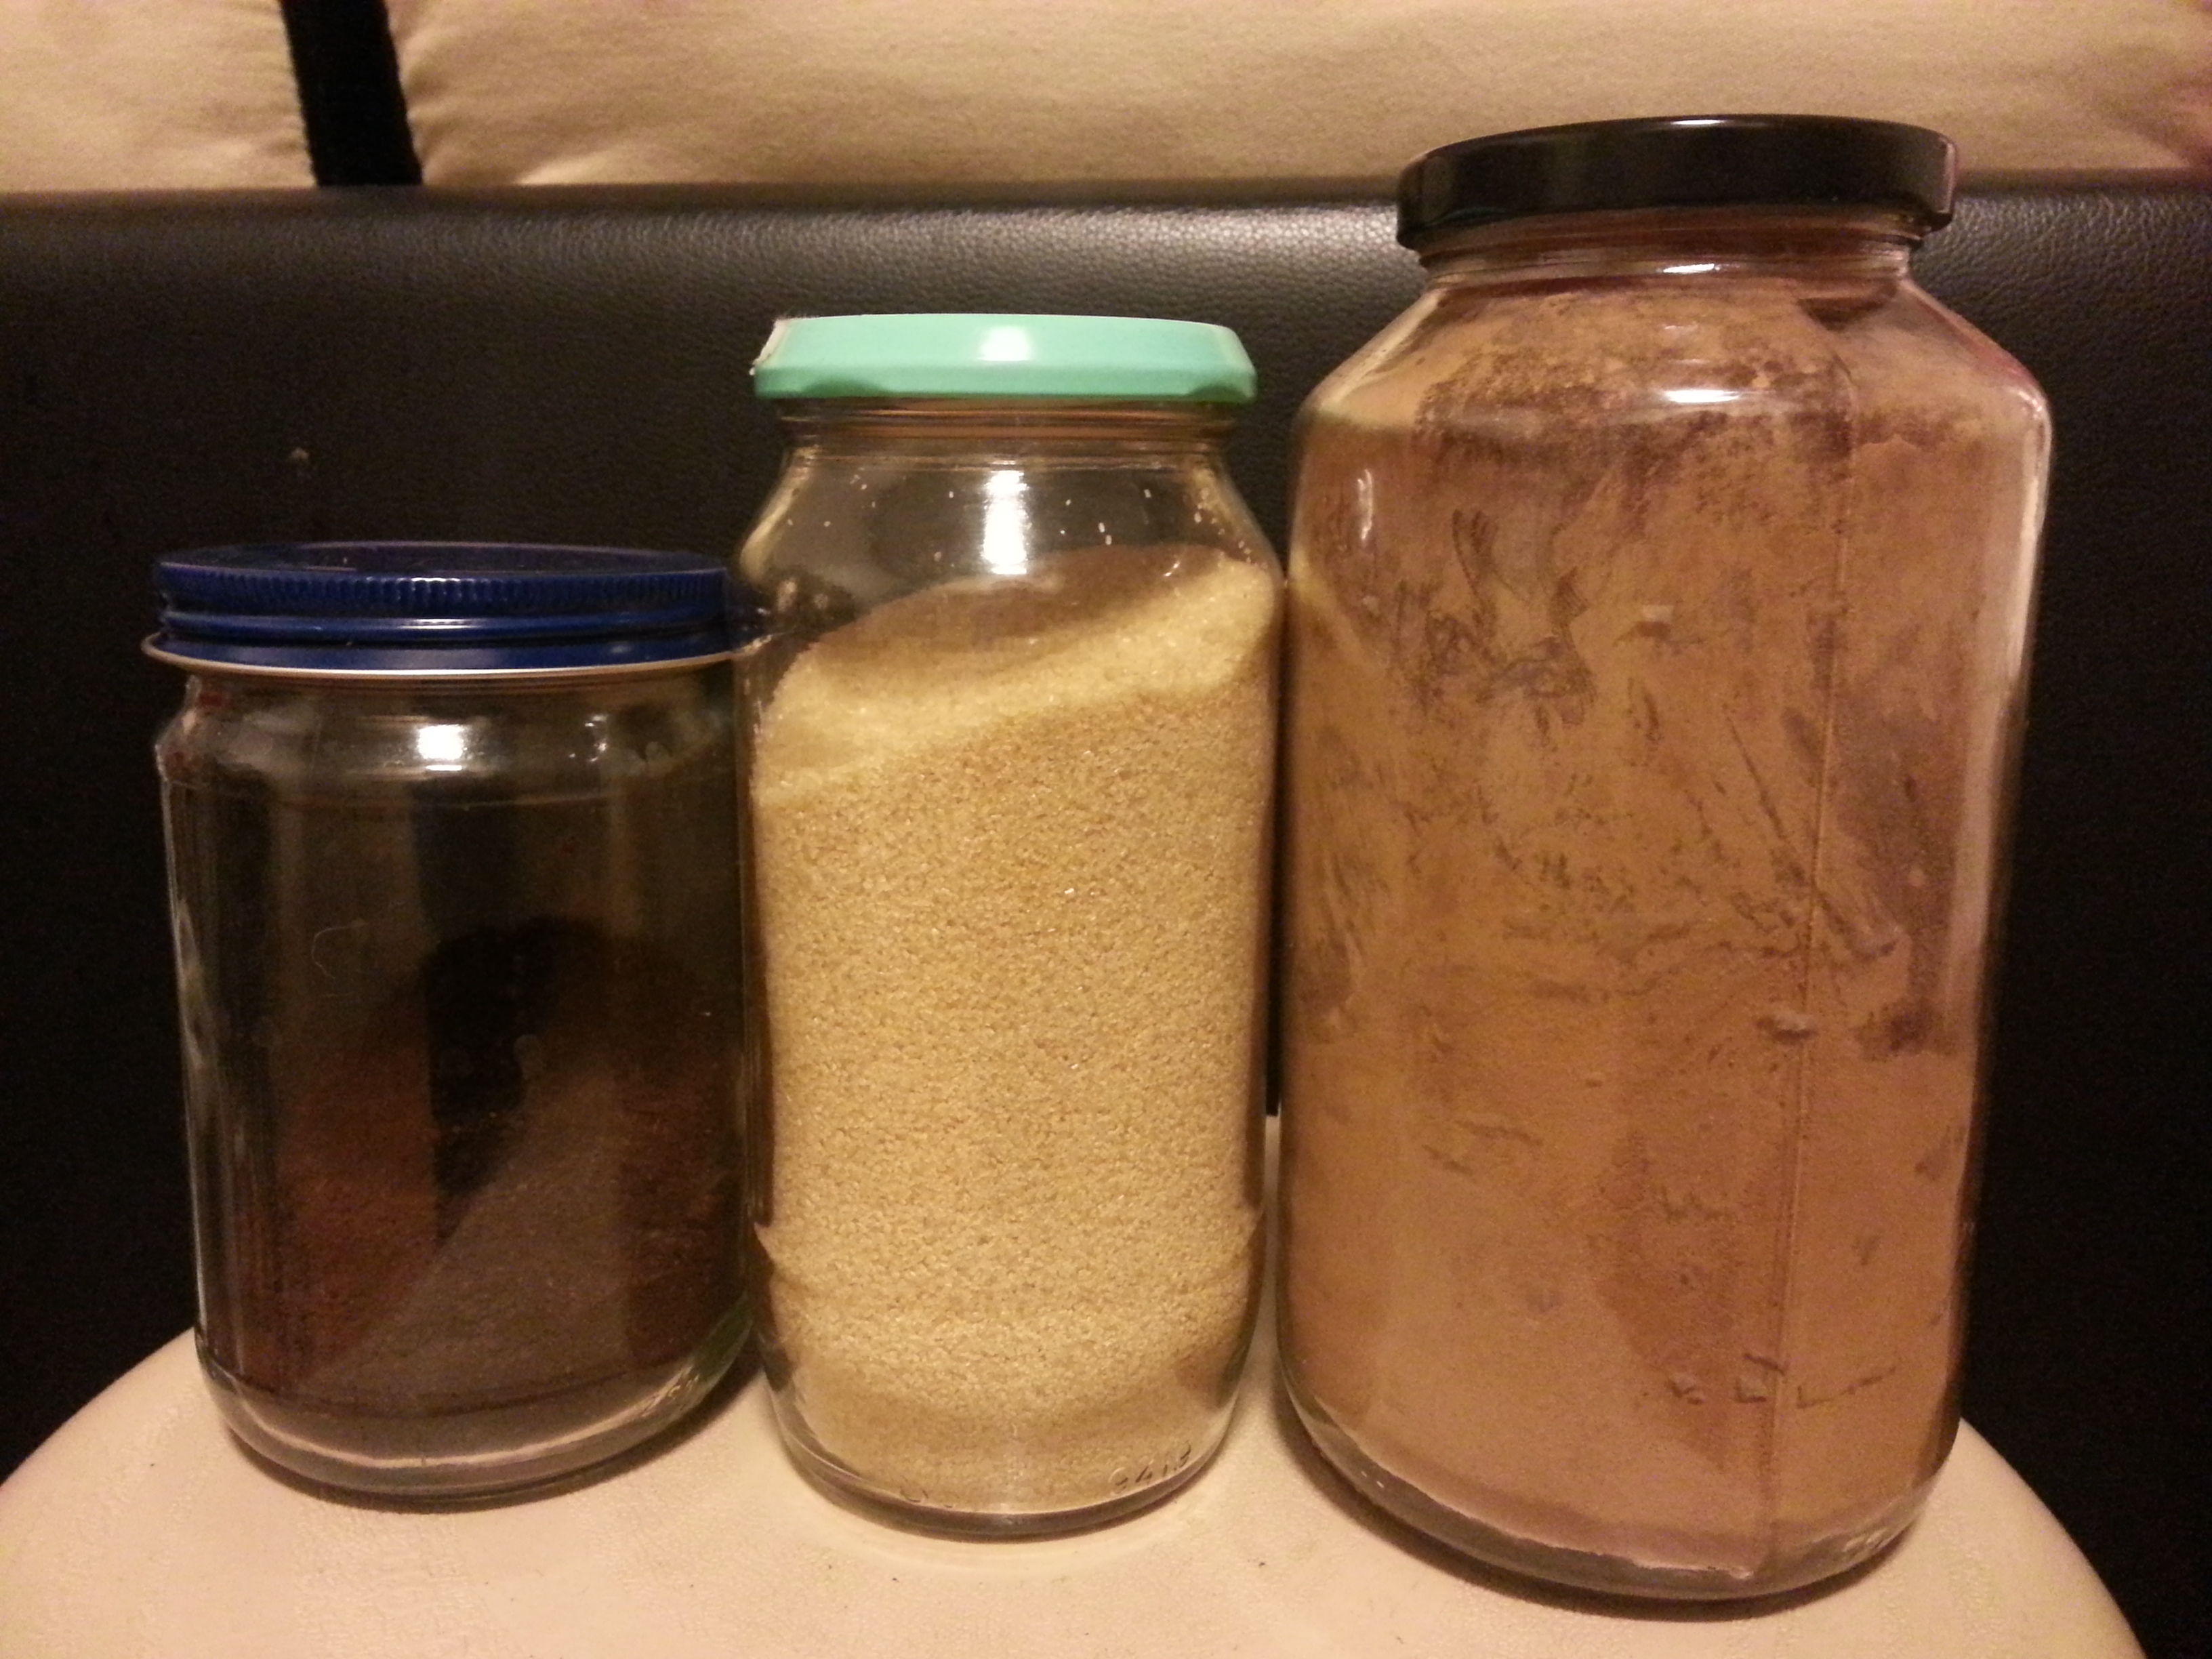
Wash and reuse glass jars after use. This way, you can store dry goods like coffee and sugar in glass rather than the original plastic.
- ASK FOR NO STRAW If you get an iced coffee or smoothie or even a soft drink with your meal out at a restaurant, then be sure to tell the server or barista that you do not need a straw. They are absolutely pointless utensils and cause a lot of waste. When I collect litter off of the beach a lot of the garbage is straws from drinks from the nearby cafes. Of course, be sure to bring your tumbler along with you in your purse or bag to avoid using plastic cups and lids with that straw.

It doesn’t take me long to collect straws on my morning walks,.
- NO PLASTIC WATER BOTTLES This is an obvious one, especially with my previous post on the usefulness of tumblers, which is hyperlinked just above, but I’ll say something quick as a reminder. Plastic bottled water is as unnecessary as a straw, you don’t need ’em. They have become modern-day conveniences and the norm for most, but change your habit by buying a home use water filter, purchasing a metal water bottle or tumbler to be filled with the filter or even straight out of the tap if it’s safe to do where you live.
- Side note: Isn’t it sad that it is unsafe to drink from the tap! I was warned when I moved to Korea that it’s a big no-no. Most people create a lot of waste by buying large, plastic bottles of water.


- CHANGE YOUR PLASTIC USE HABITS This is incorporated into all of the tips above in a way, yet deserves more explanation. In order for me to cut back on my plastics use, I have to make small decisions every day. For example, there is a bakery around the corner from me that I enjoy, but I will not allow myself to go in there unless I have a container on me to carry the bread away with. At first they looked at me funny, but after about the fourth time, they gave me a day old bread free of charge (or service as they say here) because they may have thought it was cute that I brought my own Tupperware.


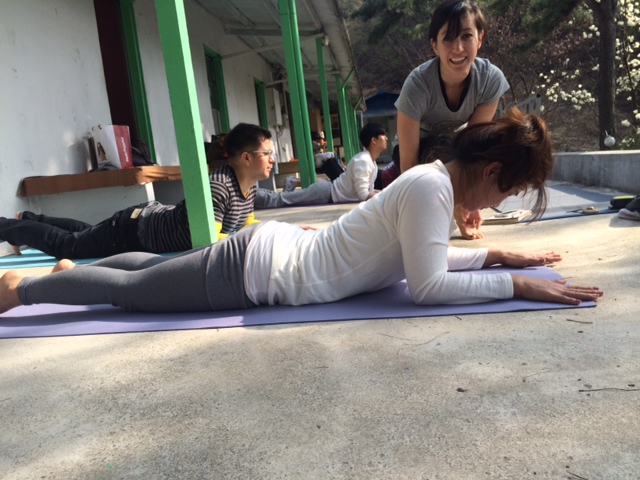


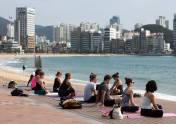 because no money gets lost to rent payments. When I first moved to Busan I hosted early morning beach yoga classes on the boardwalk and gave payments to my local non-profit of choice. Not much was raised, because not too many people are early risers, but every little bit counts!
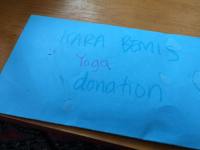 t. When I create my events I describe the cost as Minimum Donation of xxx, this way people might consider donating more. When class is finished and everyone is making their payments, I remind them that I have change for them if they need it, but if not their extra money is greatly appreciated by the organization. Many students will be generous.


 I took to dye my fabric.